It started back in Sept. of 2009, when the city water deptartment came a-knocking on our door. They were trying to trace some illicit toilet paper and stuff that was getting into the local creeks. They narrowed it down to our street, and after some testing, discovered that our water hook-up was done incorrectly. Apparently, at some point, the person who renovated our soooo ugly laundry room and basement apartment kitchen, had hooked up the water to the wrong pipes. Yikes!!!!! We were on the hook for $8000.00 + to get the situation remedied. We had to have the floor of the kitchen and laundry room dug up and the water hooked up to the sewage pipes, and not the pipes that lead out to the lakes and streams, and we only had 1 month to do it or we would be fined $10,000. We were fit to be tied, but that's the life of a homeowner. We got it done, and retiled the kitchen right away, but the laundry room stayed as is with a nice concreted- over trench right through the middle of the laundry room. I did however buy enough tile to do said laundry room, but as we were both working full-time it never got done- until November 2010.
I was recently unemployed, so it was one of my first projects to tackle. I really didn't feel like tackling the tiling myself, so we hired our friend, who's a self-employed, do anything that needs doing kind of guy. He only charged us $250.00 to tile the floor, which was right in our budget. I had purchased a really nice peel and stick vinyl tile that looks just like marble stone tile from Home Depot, but it still needed to be glued down for the sake of being sturdy and permanent.
Here's what the tile looks like:
Now that I had this lovely new floor, I just couldn't live with the ugly wallpaper any more, so I decided to make-over the entire laundry room. But, I had to do it on a tight budget, so I used as many things as I could that I already own.
So.................... Here's what I did.
 |
| Before |
I wish I had taken a picture before I peeled off
the old wallpaper, but you can still see a small
piece behind the washing machine.
Lovely water-stained under paper.

Ugly laundry basin.
Spraying the under-layer of paper and glue. Don't
forget good gloves (very stylish)!!!!!
Scraping the old paper and glue off with a putty knife.
Then wash the walls well with TSP (Trisodium Phosphate). This is a very strong cleaner, so you need gloves, but not very fumey. This gets gets rid of any residual glue and dirt, in preparation for painting.
All ready to paint now. Just had to fill in a few nail holes and give a light sand. Since it's a laundry room, I didn't do too much else, except tape around the cupboards and windows.
Now for the fun. I decided to use the new paint and primer from Behr. It was highly recommended to me by the man in the paint department at Home Depot, and I choose a color called Soft Wheat. It's a nice warm tan, with a yellow under-tone. It 's very pretty and matched the tile beautifully. I really liked the paint, and ended up needing two coats, since my walls were white, but one gallon was all I needed, and there's still some paint left over for touch-ups .
Here are the end result. I really like the way it turned out:
 |
| Door to Laundry Room- no wreaths were harmed in the making of this blog |
The Roman shade was made from Waverley Fabric I had at
home, and the dried hydrangeas are from my garden.
Luckily we had these these great built in cupboards for lots of storeage.
Antique washing board purchased at my favourite Southworks Antique Mall in Cambridge ,Ontario.

This is my favourite Antique mall, and has 100's of dealors under one roof- great prices and lots of variety.
These vintage prints of an iron and washing producrs were
printed off the internet and framed in inexpensive frames
already had.
Dried hydrangeas from my garden.
More vintage prints from the internet.
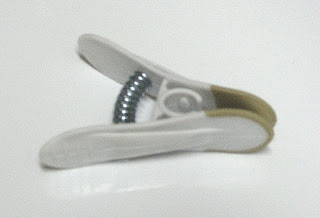
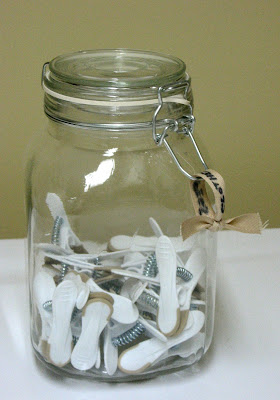
I love these clothespins from Walmart. They don't
leave any marks on your clothes.
These jars are also from Walmart, and I use them to
store lots of small items.
These dividers hide the water heater, furnace and my husbands
tools- they were also already in the laundry room.
behind the sceen.
This wire modular shelf keeps tools organized
behind the dividers.
Close-up of the vintage washing
products print.
Well- I hope you've enjoyed this. Please let me know what you think. Here's a last before and after shot:
 |
| Before |
 |
| After |


